How I'm Designing 3D Prints with AI (No CAD Required)
By Robby McCullough · Published June 12, 2026
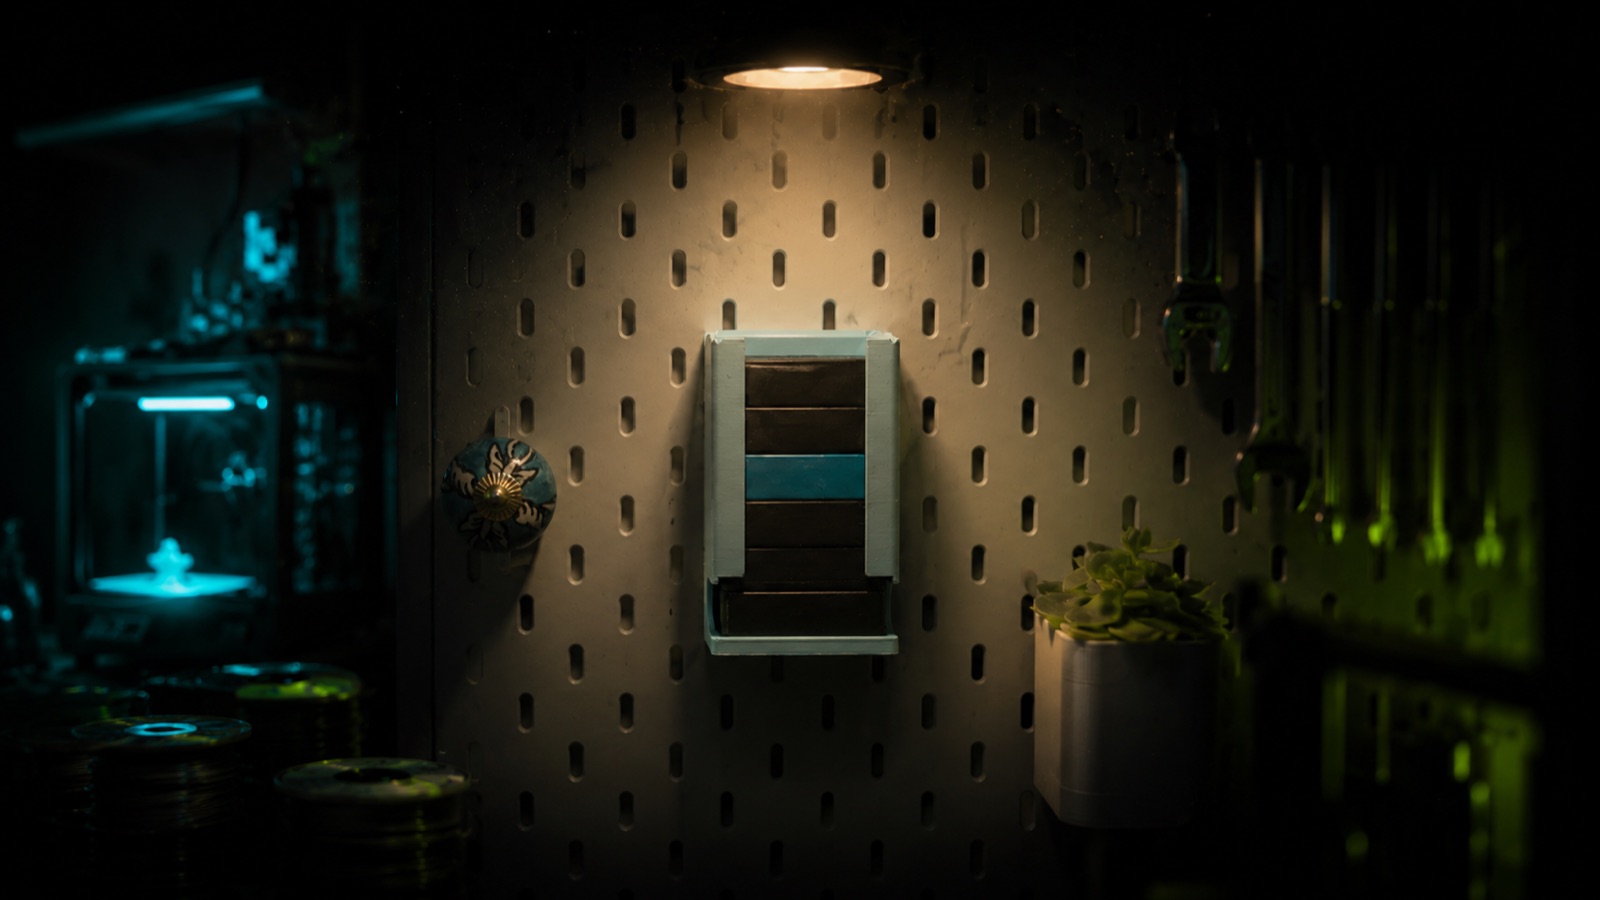
I have been dreaming about a dedicated charging space for my camera gear on the IKEA SKADIS pegboard in my office for a long time.
One of the original ways I started playing with AI tools was creating sticker designs, printing them, and then handing them out at concerts and music festivals. I love the idea of pushing AI generation out of the digital realm and into the real world. In the past, I've used an AI tool to model a 3D version of a logo caricature, and I let Claude design a bedside catch-all by driving Fusion 360 through an MCP server.
This week I put the two together. I used Fable, Anthropic's new frontier model, to design a 3D print with real utility: a gravity feed dispenser for my Canon LP-E17 camera batteries. Drop a freshly charged battery in the top. It stacks on the ones below. When I need one, I pull from the bottom, so I always grab the battery that's been sitting charged the longest. First in, first out, enforced by gravity.
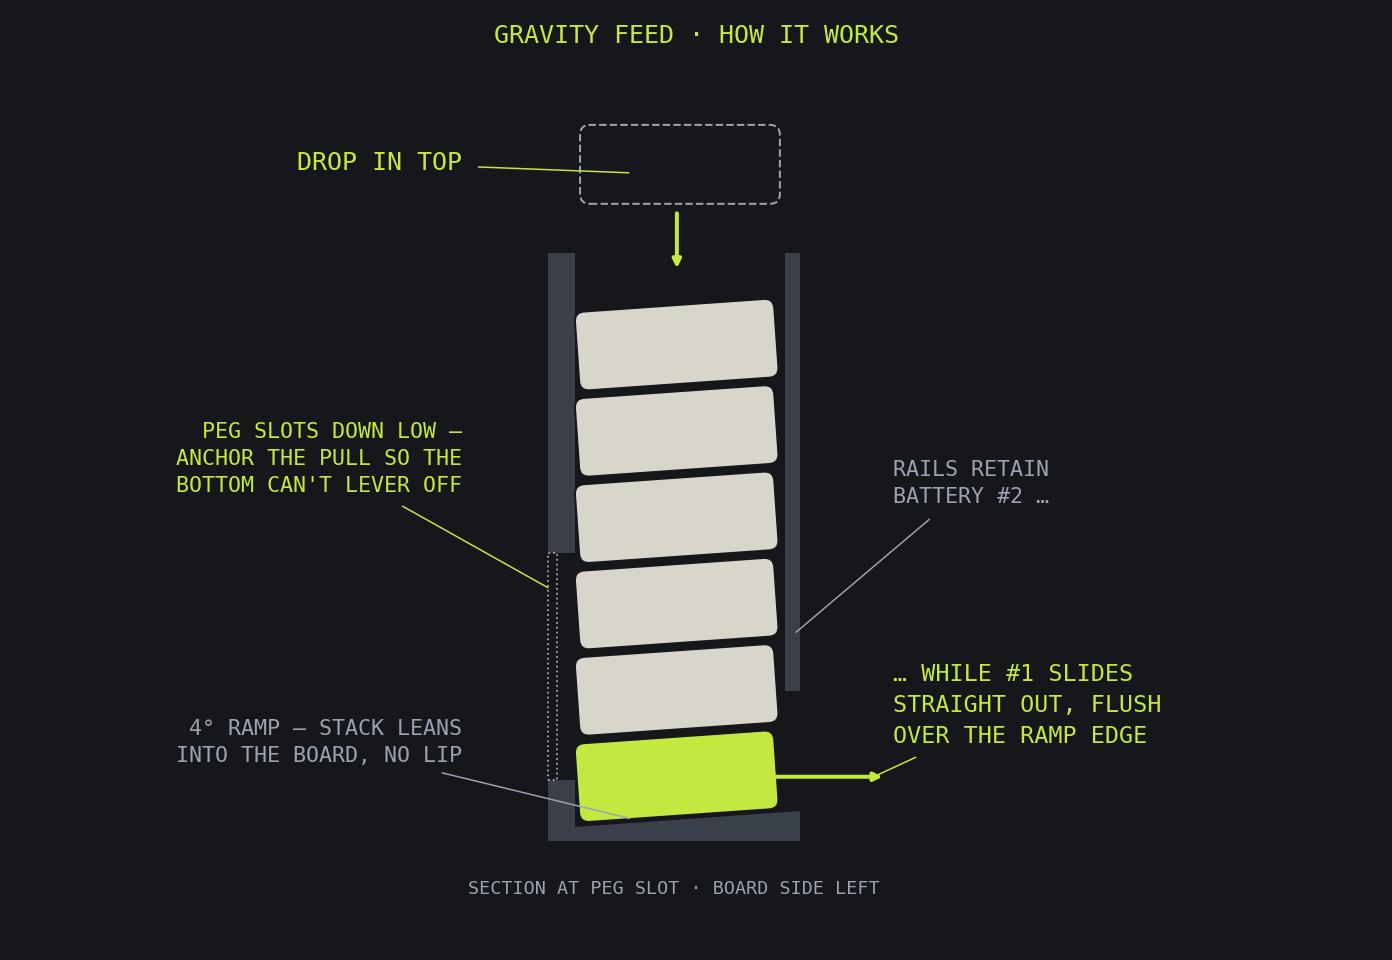
The idea comes straight from Scott Yu-Jan, who built one for his Sony batteries in one of his desk setup videos. Scott can model whatever he imagines. I'm nowhere near that talented in CAD. But I knew what I wanted, and I knew I could describe it. That turned out to be enough: I described the dispenser, scribbled on a few photos, and Claude took care of the rest.
The Design Is a Program
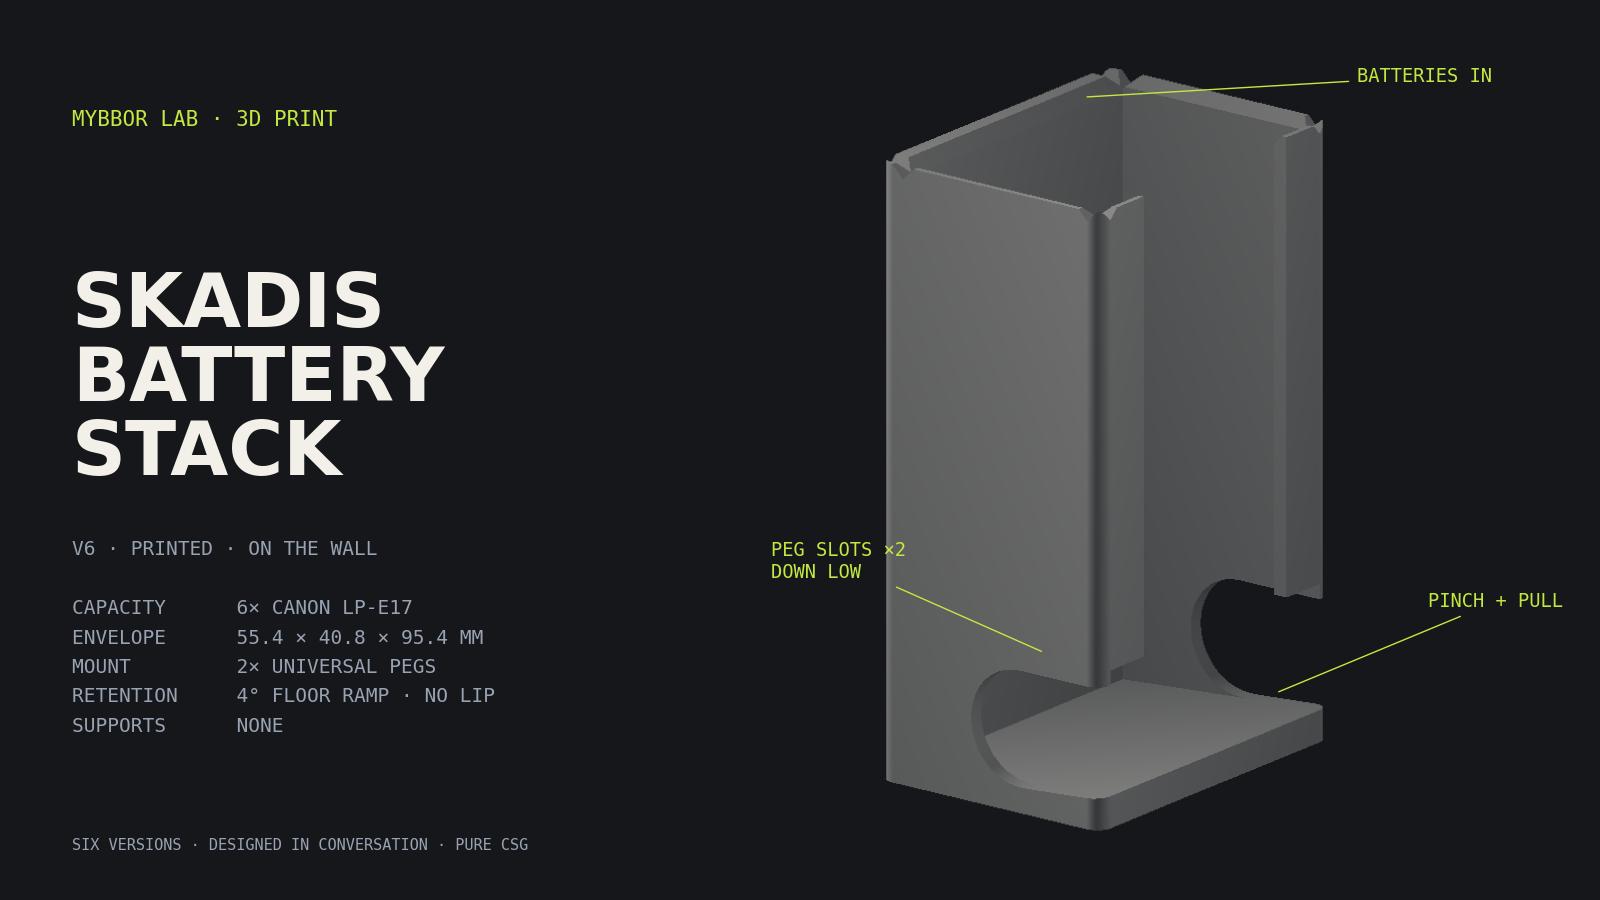
None of this was drawn in CAD. The dispenser is a Python script, about 130 lines using build123d, with every dimension a named parameter. The whole model is constructive solid geometry: boxes, cylinders, and booleans, with rounded corners made by intersecting with a rounded column and the floor ramp cut by a tilted plane. CAD the way you'd do it in 1985, and the constraint honestly makes the code easier to read.
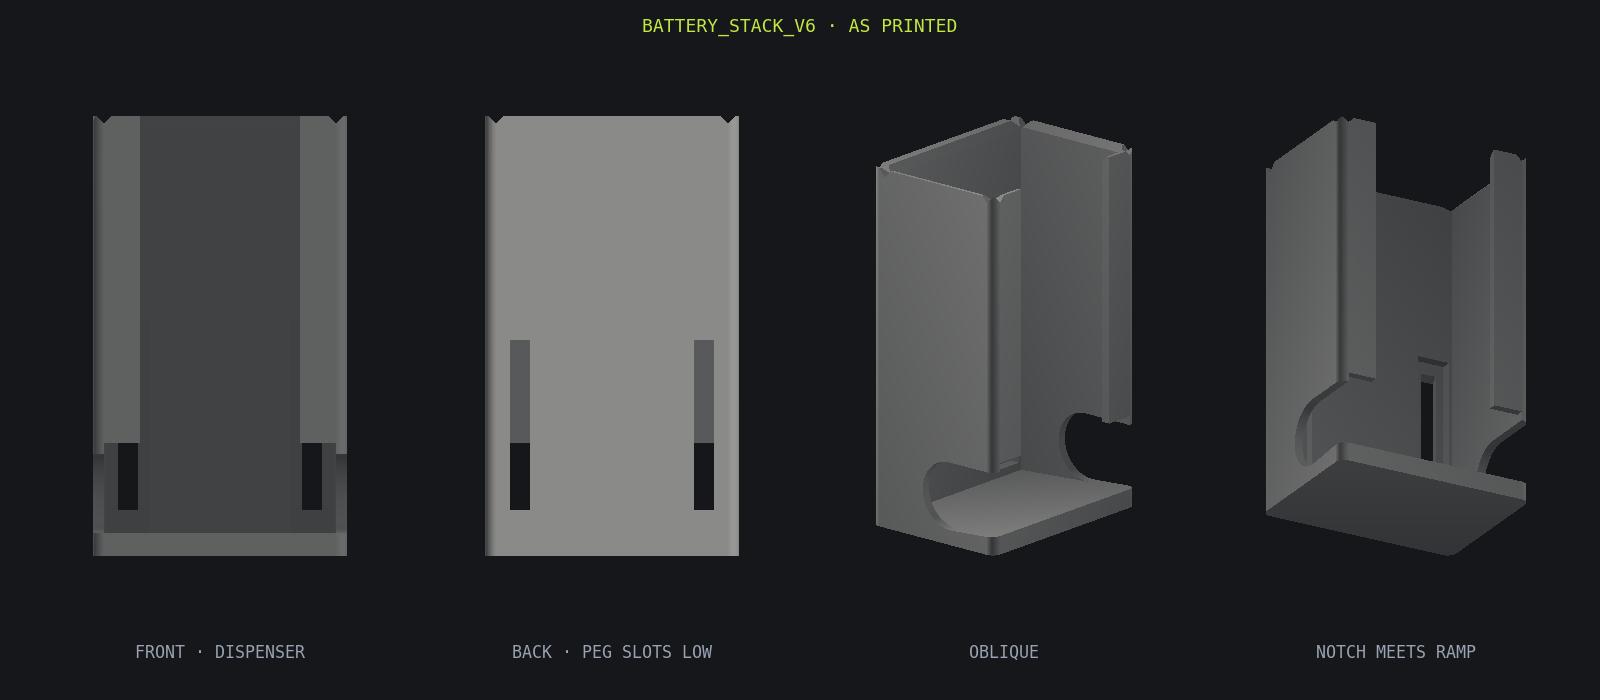
The part that makes it trustworthy is that nothing got sliced on vibes. Before every print, Claude cross-sectioned the exported mesh with trimesh and verified the actual numbers: slot width 4.4 mm, peg pitch 40.0, watertight. The renders are just for show. The cross-sections are the proof. Even the diagrams in this post came out of that pipeline; Claude wrote a tiny software rasterizer and rendered its own model, styled to match this site.
Fable deserves some of the credit here. Before writing any code, it reasoned through the geometry, the print constraints, and the physics of a stack of batteries sliding down a chute. That up-front thinking is a big part of why the whole thing felt easy.
It also helps that Claude remembers the hard parts. An earlier SKADIS project, a wall mount for my battery charger, produced a design guide with the measured peg interface: the slot dimensions, the 40 mm pitch, and the exact wall thickness the pegs need to lock. Claude reads it at the start of every session, so each new holder skips straight to the new problem.
Six Versions, Zero Typed Dimensions
It still took six versions to get right, and I never typed a single dimension. The loop: print a version, hold it, take a photo, scribble on the photo on the iPad, then drop it in the chat. Claude read the scribbles and cut a new version. Tilt the floor back so gravity holds the stack. Open the finger holes toward the front so a battery pulls straight out. The best fix came after it was on the wall: pulling a battery levered the holder off the board, so the peg slots moved down to where the pulling happens. The print is the prototype; the scribble is the spec.
Why Code Beat Fusion
The bedside catch-all I mentioned earlier came out of Fusion 360 driven over MCP, and that process always felt clunky: a lot of opaque clicking happening on my behalf, and the results never felt clean. The programmatic designs are different. Every dimension has a name, every change is a diff, and the model can verify its own output with cross-sections instead of eyeballing a viewport.
A First
This is also the first 3D design I've ever published. It's up on MakerWorld with a print profile ready to go, so if you've got a SKADIS wall and shoot Canon, it's yours. I've poked at CAD tools over the years and never had the time to learn them deeply, so my designs stayed ideas. Describing what I wanted in plain language and ending up with a published, printable model is a new frontier for me, and it's really freaking cool.
The dispenser's on the wall next to the charger mount. Six batteries, always rotated, always charged. More from the lab.